
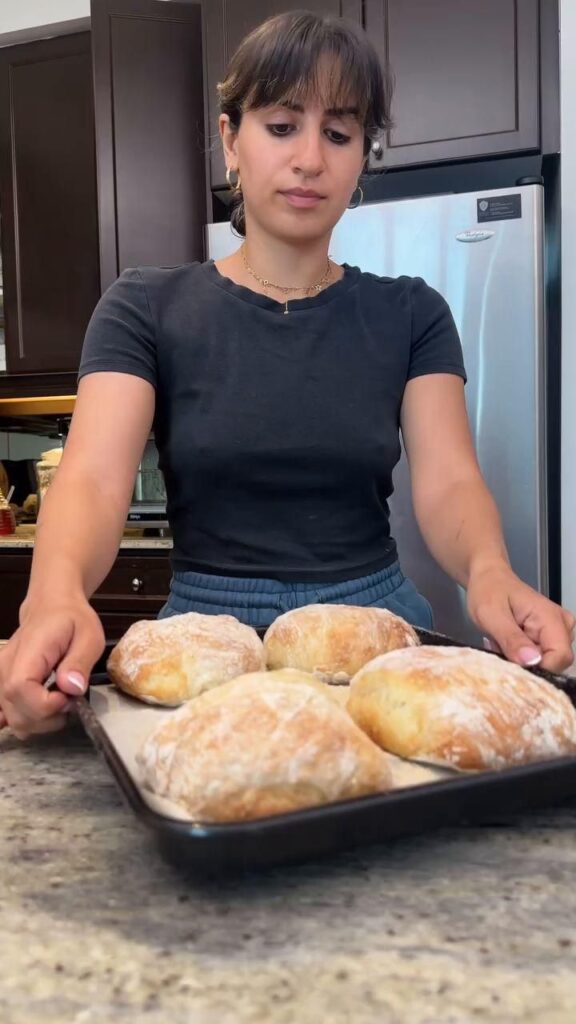
I remember my first loaf of bread: it was a lopsided, dense brick that could double as a doorstop. But that first bite of warm, homemade bread – even imperfect – was pure magic. That's why I created these easy bread recipes for beginners. They're forgiving, require minimal kneading, and use basic ingredients you likely already have.
Advertisements1
Whether you're craving a crusty artisan loaf, fluffy dinner rolls, or a simple sandwich bread, these recipes are designed to build your confidence. You'll learn the basics of yeast, proofing, and shaping without any fuss. And the best part? The intoxicating smell of fresh bread baking will fill your home with warmth.
So grab your apron, and let's bake some bread together. Remember: progress over perfection. Every loaf you make is a step toward becoming a confident home baker.
Why You'll Love This Recipe
About the Ingredients
4 cups (500g) all-purpose flour, plus more for dusting
All-purpose flour gives a soft crumb. You can substitute bread flour for a chewier texture, or use half whole wheat for a nuttier flavor.
2 teaspoons (6g) instant yeast
Instant yeast is foolproof and doesn't require proofing. If using active dry yeast, dissolve in warm water first (see step 2).
2 teaspoons (10g) salt
Salt controls yeast activity and enhances flavor. Use fine sea salt or table salt; if using kosher salt, increase to 3 teaspoons.
1 tablespoon (15g) sugar
Sugar feeds the yeast and helps browning. You can use honey or maple syrup for a slight flavor change, but adjust liquid slightly.
1.5 cups (360ml) warm water (110°F/43°C)
Warm water activates the yeast. If too hot, it kills the yeast; if too cold, it slows rising. Use a thermometer for accuracy.
2 tablespoons (30ml) olive oil, plus more for greasing
Olive oil adds richness and helps keep the bread moist. You can substitute any neutral oil like canola or melted butter.
Tips & Tricks
Measure flour correctly
spoon it into the measuring cup and level off with a knife. Avoid scooping directly, which packs the flour and makes bread dry.
Create a warm proofing spot
Place dough in an oven with the light on, or near a warm stove. If your kitchen is cool, the rising time may increase.
Don't over-knead
For this no-knead style, you just mix until shaggy and let time do the work. Over-mixing can make the bread tough.
Pro Tips
Step-by-Step Instructions
1. Mix dry ingredients
In a large bowl, whisk together the flour, yeast, salt, and sugar until well combined. This ensures even distribution of salt and yeast.
2. Add wet ingredients
Pour in the warm water and olive oil. Stir with a wooden spoon or spatula until a shaggy dough forms. It will be sticky – that's okay. Cover the bowl with plastic wrap and let rest for 10 minutes.
3. First rise
Cover the bowl tightly with plastic wrap and let the dough rise in a warm spot for 1 to 1.5 hours, or until doubled in size. The dough should look puffy and have a slightly domed top.
4. Shape the dough
Turn the dough out onto a lightly floured surface. Gently fold it over itself a few times to deflate, then shape into a round loaf by tucking the edges underneath. Place on a parchment-lined baking sheet or in a greased loaf pan.
5. Second rise
Cover the shaped dough with a clean kitchen towel and let it rise for 30-45 minutes, or until it has increased by about 50%. It should look puffy and hold a slight indentation when poked.
6. Preheat oven
While the dough rises, preheat your oven to 425°F (220°C). Place a metal baking pan on the bottom rack to preheat as well – you'll add water to it later for steam.
7. Score and bake
Just before baking, use a sharp knife or razor blade to slash a shallow 'X' on top of the loaf. Carefully pour 1 cup of hot water into the preheated pan to create steam. Bake for 25-30 minutes, or until the crust is deep golden brown and the loaf sounds hollow when tapped. Internal temperature should read 190°F (88°C).
8. Cool completely
Transfer the bread to a wire rack and let it cool completely before slicing. This allows the crumb to set – if you cut too soon, it will be gummy.
Delicious Variations
- Add 1 cup of shredded cheddar and 1 teaspoon of garlic powder to the dry ingredients for a savory garlic cheese bread.
- Stir in 1 tablespoon of dried rosemary and 1/2 cup of chopped kalamata olives for a Mediterranean twist.
- Replace 1 cup of all-purpose flour with whole wheat flour and add 2 tablespoons of honey for a heartier, slightly sweet loaf.
How to Store Easy Bread Recipes For Beginners
Refrigerator
Store in an airtight container or bread box at room temperature for up to 3 days. For longer storage, refrigerate in a sealed bag for up to a week.
Freezer
Slice the bread and freeze in a zip-top bag for up to 3 months. Thaw at room temperature or toast directly from frozen.
Reheating
To refresh a stale loaf, wrap in foil and warm in a 350°F (175°C) oven for 10-15 minutes. Or simply toast slices.
Frequently Asked Questions
Q: Why didn't my bread rise?
The most common reason is inactive yeast – check the expiration date and ensure your water temperature is between 105°F and 115°F (40-46°C). If the water is too hot, it kills the yeast; if too cold, it won't activate.
Q: Can I use all-purpose flour instead of bread flour?
Yes, all-purpose flour works perfectly for this recipe. Bread flour has more protein, which gives a chewier texture, but all-purpose yields a softer crumb. You can also use a 50/50 blend.
Q: How do I know when the bread is done?
The bread is done when it's deep golden brown on top and sounds hollow when tapped on the bottom. For accuracy, use an instant-read thermometer – it should read 190°F (88°C) in the center.
Q: Can I make this dough ahead of time?
Absolutely! After the first rise, punch down the dough, cover tightly, and refrigerate for up to 24 hours. When ready to bake, let it come to room temperature, then proceed with shaping and the second rise.
Q: Why is my bread dense and heavy?
Dense bread often results from too much flour or under-proofing. Be sure to measure flour correctly and allow enough time for the dough to double during the first rise. Over-kneading can also make it tough.
I hope these easy bread recipes for beginners get you excited to bake! Start with the basic loaf, and don't stress about perfection – every loaf is a learning experience. Try this week: make a loaf on Sunday and enjoy it for breakfast toast all week. Here's to small steps, big impact.
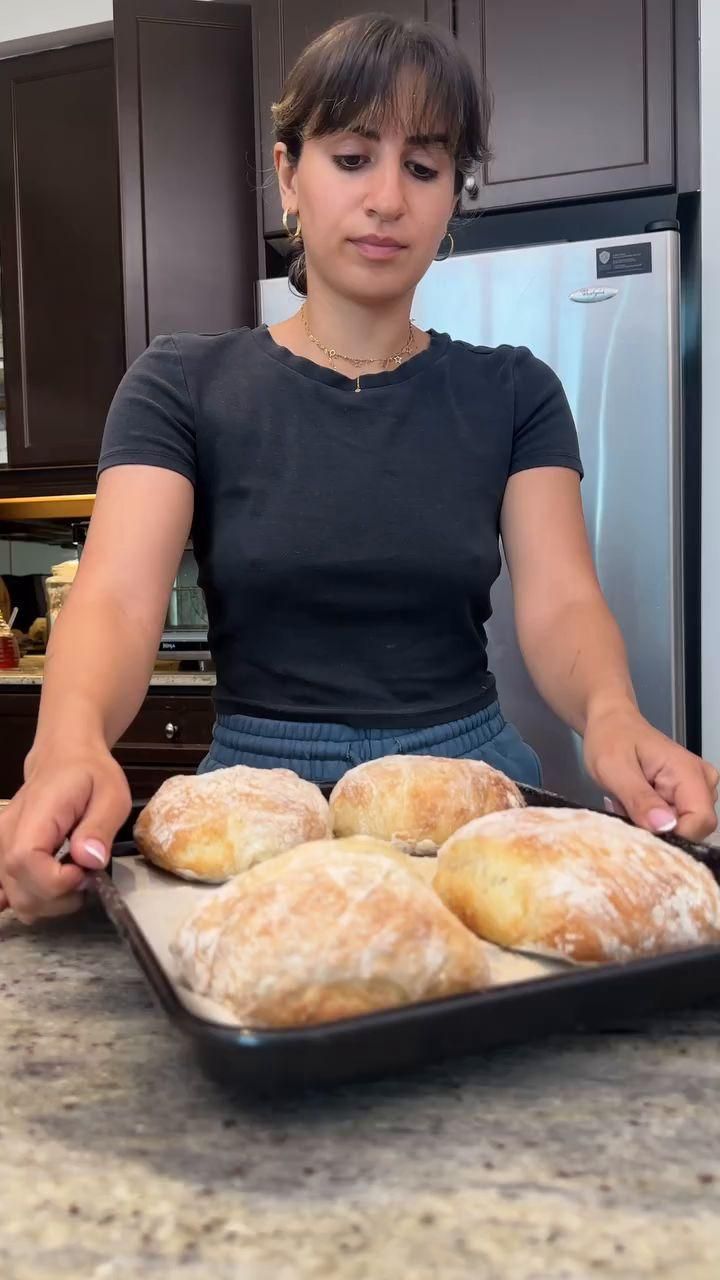
Easy Bread Recipes For Beginners
Discover easy bread recipes for beginners: simple no-knead loaves, soft dinner rolls, and more. Perfect for new bakers!
🧂 Ingredients
- 4 cups (500g) all-purpose flour, plus more for dusting
- 2 teaspoons (6g) instant yeast
- 2 teaspoons (10g) salt
- 1 tablespoon (15g) sugar
- 1.5 cups (360ml) warm water (110°F/43°C)
- 2 tablespoons (30ml) olive oil, plus more for greasing
📋 Instructions
- 1Mix dry ingredients — In a large bowl, whisk together the flour, yeast, salt, and sugar until well combined. This ensures even distribution of salt and yeast.
- 2Add wet ingredients — Pour in the warm water and olive oil. Stir with a wooden spoon or spatula until a shaggy dough forms. It will be sticky – that's okay. Cover the bowl with plastic wrap and let rest for 10 minutes.
- 3First rise — Cover the bowl tightly with plastic wrap and let the dough rise in a warm spot for 1 to 1.5 hours, or until doubled in size. The dough should look puffy and have a slightly domed top.
- 4Shape the dough — Turn the dough out onto a lightly floured surface. Gently fold it over itself a few times to deflate, then shape into a round loaf by tucking the edges underneath. Place on a parchment-lined baking sheet or in a greased loaf pan.
- 5Second rise — Cover the shaped dough with a clean kitchen towel and let it rise for 30-45 minutes, or until it has increased by about 50%. It should look puffy and hold a slight indentation when poked.
- 6Preheat oven — While the dough rises, preheat your oven to 425°F (220°C). Place a metal baking pan on the bottom rack to preheat as well – you'll add water to it later for steam.
- 7Score and bake — Just before baking, use a sharp knife or razor blade to slash a shallow 'X' on top of the loaf. Carefully pour 1 cup of hot water into the preheated pan to create steam. Bake for 25-30 minutes, or until the crust is deep golden brown and the loaf sounds hollow when tapped. Internal temperature should read 190°F (88°C).
- 8Cool completely — Transfer the bread to a wire rack and let it cool completely before slicing. This allows the crumb to set – if you cut too soon, it will be gummy.

Maya writes about sustainable living and zero-waste swaps for everyday families. She focuses on small, budget-friendly changes that actually stick, tested in her own chaotic kitchen.