
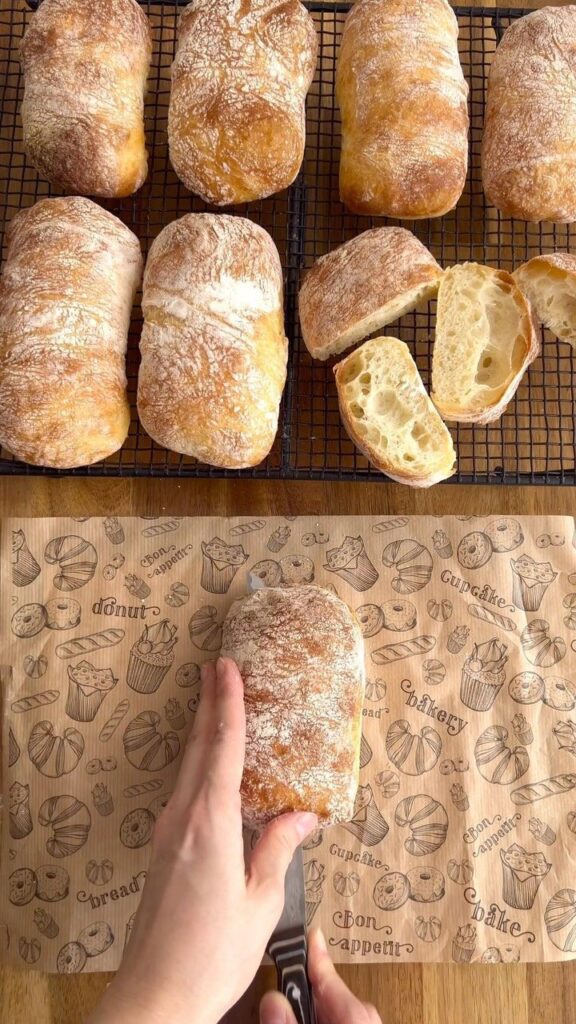
I used to think bread baking was a weekend-only affair. Between school runs, work deadlines, and the never-ending laundry pile, who has time to babysit a dough? Then I discovered this no-knead method that fits into my weeknight chaos like a dream.
Advertisements1
This isn't about perfect, bakery-level boules. It's about warm, homemade bread on a Tuesday. The dough comes together in 5 minutes, rises while you tackle dinner, and bakes while you set the table. It's forgiving, flexible, and genuinely foolproof.
So, whether you're a seasoned baker or a total newbie, I promise you can make this work on a busy evening. Let's get our hands a little floury and make something delicious.
Why You'll Love This Recipe
About the Ingredients
3 cups (375g) all-purpose flour, plus extra for dusting
All-purpose is perfect for this bread. Bread flour also works but makes it slightly chewier. For a whole-wheat version, swap 1 cup with whole wheat and add an extra tablespoon of water.
1 ½ teaspoons instant yeast (or 2 teaspoons active dry)
Instant yeast is ideal because it doesn't need proofing. If using active dry, dissolve it in the warm water with a pinch of sugar first. Quick-rise yeast also works well.
1 ½ teaspoons salt
Use fine sea salt or table salt for even distribution. If using kosher salt, increase to 2 teaspoons. Don't skip salt – it controls yeast activity and adds flavor.
1 ½ cups (355ml) warm water (about 110°F/43°C)
Water temperature is key: too hot kills yeast, too cold slows it down. If you don't have a thermometer, aim for lukewarm bath-water temperature.
1 tablespoon olive oil (optional, for softer crust)
This is optional but adds a hint of richness and helps keep the crust softer. You can substitute melted butter or omit entirely.
1 tablespoon honey or sugar (optional, for a hint of sweetness)
A touch of sweetener helps the yeast get going and adds a subtle flavor. You can skip it, but it does help with browning.
Tips & Tricks
Use a kitchen scale for accuracy
Measuring flour by weight ensures consistent results. If using cups, fluff the flour, spoon it into the cup, and level off.
Don't skip the resting time
It's what develops the gluten without kneading. Even if you're in a rush, give it at least 2 hours for the best texture.
- For a shinier crust, brush the loaf with beaten egg or milk before baking.
- Make sure your baking sheet is hot when you place the dough on it – it helps with oven spring.
Pro Tips
Step-by-Step Instructions
1. Mix the dough
In a large bowl, whisk together flour, yeast, and salt. Add warm water, olive oil (if using), and honey (if using). Stir with a wooden spoon until a shaggy dough forms. It will be sticky – that's okay.
2. Let it rise
Cover the bowl with plastic wrap or a damp kitchen towel. Let it rest at room temperature for at least 2 hours, or up to 4 hours. The dough should double in size and have a bubbly surface.
3. Preheat the oven
About 30 minutes before you're ready to bake, preheat your oven to 450°F (230°C). Place a baking sheet or cast-iron skillet inside to heat up.
4. Shape the loaf
Turn the dough out onto a well-floured surface. It will be sticky – use a bench scraper or floured hands. Gently fold the edges into the center to form a round or oval loaf. Don't overwork it.
5. Second rise
Place the shaped dough onto a piece of parchment paper. Cover loosely with a towel and let it rest for 20-30 minutes while the oven finishes preheating. It won't double, but it will puff slightly.
6. Score and bake
Carefully transfer the parchment with the dough onto the hot baking sheet. Using a sharp knife or razor, score the top with a few slashes. Bake for 25-30 minutes, until the crust is deep golden brown and the loaf sounds hollow when tapped on the bottom.
7. Cool completely
Transfer the bread to a wire rack and let it cool for at least 15 minutes before slicing. This allows the crumb to set – if you cut too soon, it will be gummy.
Delicious Variations
Herb and Garlic
Add 1 teaspoon dried rosemary, 1 teaspoon dried thyme, and 2 minced garlic cloves to the dry ingredients.
Cheese and Jalapeño
Fold in 1 cup shredded cheddar and 2 diced jalapeños (seeded for less heat) after the first rise.
Cinnamon Raisin
Add 1 teaspoon cinnamon and 1/2 cup raisins to the dry ingredients, and increase honey to 2 tablespoons.
How to Store Weeknight Bread Baking Ideas
Refrigerator
Store in a paper bag or wrapped in a kitchen towel for up to 3 days. Avoid plastic bags, which make the crust soft.
Freezer
Wrap tightly in plastic wrap and then foil. Freeze for up to 3 months. Thaw at room temperature.
Reheating
Refresh in a 350°F (175°C) oven for 5-10 minutes to crisp the crust.
Frequently Asked Questions
Q: Can I use all-purpose flour instead of bread flour?
Yes, all-purpose flour works perfectly for this recipe. It will produce a slightly softer crumb but still be delicious. If you want a chewier texture, you can substitute bread flour 1:1.
Q: Why is my bread dough too sticky?
Sticky dough is normal for this no-knead method. It should be wet and shaggy, not like traditional kneaded dough. If it's too sticky to handle, dust your hands and work surface generously with flour.
Q: How do I know when the bread is done?
The bread is done when the crust is deep golden brown and the internal temperature reaches 200°F (93°C). You can also tap the bottom – it should sound hollow.
Q: Can I make this dough ahead of time?
Absolutely! After mixing, cover the bowl and refrigerate for up to 24 hours. Let it come to room temperature for about 1 hour before shaping and baking.
I hope you give this weeknight bread a try – it's a game-changer for busy evenings. Don't stress about perfection; just enjoy the process and the amazing smell filling your kitchen. And when you make it, let me know how it goes!
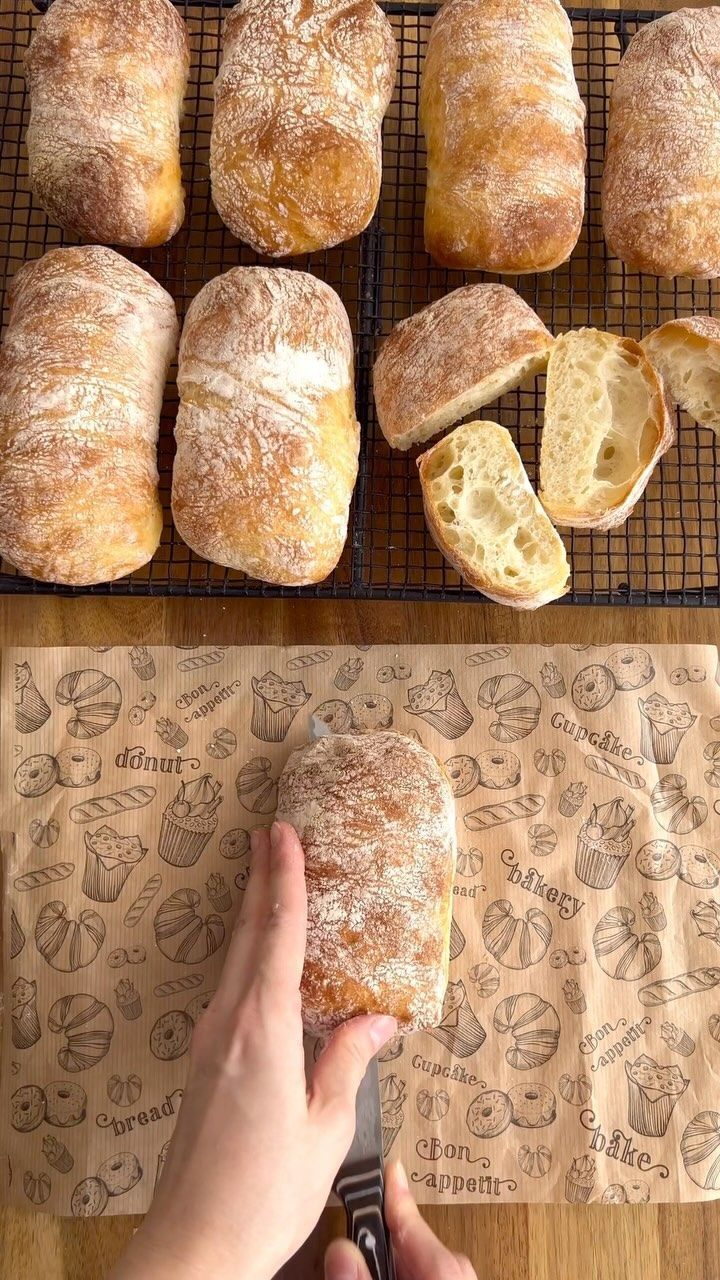
Weeknight Bread Baking Ideas
Master easy weeknight bread baking with this versatile no-knead loaf – minimal effort, crusty outside, soft inside, ready in under an hour.
🧂 Ingredients
- 3 cups (375g) all-purpose flour, plus extra for dusting
- 1 ½ teaspoons instant yeast (or 2 teaspoons active dry)
- 1 ½ teaspoons salt
- 1 ½ cups (355ml) warm water (about 110°F/43°C)
- 1 tablespoon olive oil (optional, for softer crust)
- 1 tablespoon honey or sugar (optional, for a hint of sweetness)
📋 Instructions
- 1Mix the dough — In a large bowl, whisk together flour, yeast, and salt. Add warm water, olive oil (if using), and honey (if using). Stir with a wooden spoon until a shaggy dough forms. It will be sticky – that's okay.
- 2Let it rise — Cover the bowl with plastic wrap or a damp kitchen towel. Let it rest at room temperature for at least 2 hours, or up to 4 hours. The dough should double in size and have a bubbly surface.
- 3Preheat the oven — About 30 minutes before you're ready to bake, preheat your oven to 450°F (230°C). Place a baking sheet or cast-iron skillet inside to heat up.
- 4Shape the loaf — Turn the dough out onto a well-floured surface. It will be sticky – use a bench scraper or floured hands. Gently fold the edges into the center to form a round or oval loaf. Don't overwork it.
- 5Second rise — Place the shaped dough onto a piece of parchment paper. Cover loosely with a towel and let it rest for 20-30 minutes while the oven finishes preheating. It won't double, but it will puff slightly.
- 6Score and bake — Carefully transfer the parchment with the dough onto the hot baking sheet. Using a sharp knife or razor, score the top with a few slashes. Bake for 25-30 minutes, until the crust is deep golden brown and the loaf sounds hollow when tapped on the bottom.
- 7Cool completely — Transfer the bread to a wire rack and let it cool for at least 15 minutes before slicing. This allows the crumb to set – if you cut too soon, it will be gummy.

Maya writes about sustainable living and zero-waste swaps for everyday families. She focuses on small, budget-friendly changes that actually stick, tested in her own chaotic kitchen.