
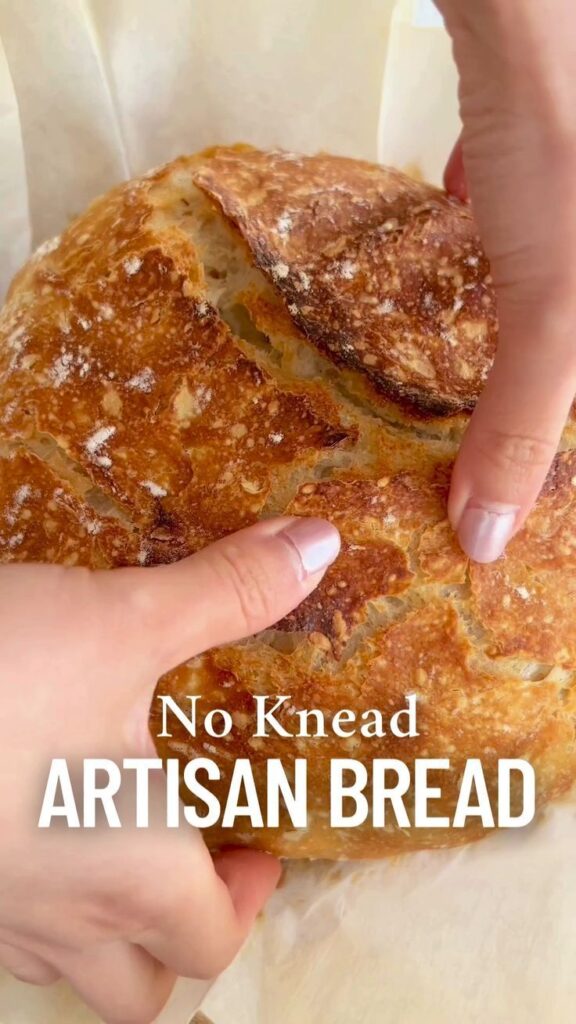
Baking bread at home often feels intimidating, but it doesn't have to be. Most recipes demand complicated techniques, special equipment, and hours of active work. This yeast artisan bread breaks that pattern: it uses a simple, no-knead method that relies on time and moisture to develop gluten, giving you a bakery-quality loaf with a crackly crust and open crumb.
Advertisements1
The key is a long, slow fermentation in the refrigerator, which builds flavor and structure without any kneading. You mix the dough in five minutes, let it rest, then shape and bake in a preheated Dutch oven. The steam trapped inside creates that coveted crispy crust, while the interior stays soft and airy.
Whether you're a seasoned baker or a complete novice, this recipe delivers consistent results. It's the perfect entry point into bread making, and once you master it, you'll never buy store-bought bread again.
Why You'll Love This Recipe
About the Ingredients
3 cups (360g) bread flour, plus more for dusting
Bread flour has higher protein, giving more structure and chew. Substitute all-purpose flour, but reduce water slightly.
1 1/2 teaspoons (6g) instant yeast
Instant yeast dissolves quickly and doesn't need proofing. Active dry yeast works too: use 1 3/4 teaspoons and dissolve in water first.
1 1/2 teaspoons (9g) fine sea salt
Salt controls fermentation and adds flavor. Use table salt, but reduce to 1 1/4 teaspoons.
1 1/2 cups (360ml) lukewarm water (about 100°F/38°C)
Lukewarm water activates the yeast without killing it. If too hot, it will kill the yeast; if too cold, fermentation slows.
1 tablespoon (15ml) olive oil, for greasing
Prevents sticking. You can use any neutral oil or butter.
Tips & Tricks
- Use a digital scale for accuracy – bread baking is a science.
- Don't skip the rest time – it develops flavor and gluten.
- Preheat your Dutch oven for at least 30 minutes to ensure a hot, steamy environment.
Pro Tips
Step-by-Step Instructions
1. Mix the Dough
In a large bowl, whisk together flour, yeast, and salt. Add lukewarm water and stir with a wooden spoon until a shaggy dough forms. Cover with plastic wrap and let rest at room temperature for 2 hours – the dough will rise and become bubbly.
2. Refrigerate Overnight
Place the covered bowl in the refrigerator for at least 12 hours, or up to 24 hours. This slow fermentation develops deep flavor and a tangy note.
3. Shape the Dough
Turn the cold dough onto a lightly floured surface. Gently fold the edges toward the center to form a round ball, being careful not to deflate it. Let rest on a piece of parchment paper for 30 minutes at room temperature.
4. Preheat the Oven
Place a Dutch oven (with lid) in your oven and preheat to 450°F (230°C) for at least 30 minutes. The pot must be screaming hot for a good crust.
5. Score the Dough
Using a sharp knife or bread lame, score the top of the dough with a shallow slash (about 1/4 inch deep). This allows the bread to expand during baking.
6. Bake Covered
Carefully place the dough (on parchment) into the hot Dutch oven. Cover with the lid and bake for 20 minutes. The trapped steam creates a glossy, crispy crust.
7. Bake Uncovered
Remove the lid and continue baking for 15-20 minutes, until the crust is deep golden brown and the internal temperature reaches 200-210°F (93-99°C). This ensures a fully baked, crisp loaf.
8. Cool Completely
Transfer the bread to a wire rack and let cool for at least 1 hour before slicing. This allows the crumb to set, preventing a gummy interior.
Delicious Variations
- Add 1/2 cup of shredded cheddar and 1/4 cup of chopped jalapeños for a spicy cheese bread.
- Mix in 2 tablespoons of fresh rosemary and 1/4 cup of grated Parmesan for an herby twist.
- Swap 1 cup of bread flour with whole wheat flour and add 1 tablespoon of honey for a heartier loaf.
How to Store Yeast Artisan Bread
Refrigerator
Store in a paper bag or bread box at room temperature for up to 3 days. For longer storage, wrap tightly in plastic and refrigerate for up to 5 days.
Freezer
Wrap the cooled loaf in plastic wrap and then foil. Freeze for up to 3 months. Thaw at room temperature.
Reheating
To restore crispness, reheat slices in a toaster or in a 350°F (175°C) oven for 5-10 minutes.
Frequently Asked Questions
Q: Why is my artisan bread dough so sticky?
This dough is intentionally high-hydration, so it will be sticky. Resist adding too much flour – instead, use wet hands or a bench scraper to handle it. The stickiness is what gives the open crumb.
Q: Can I use all-purpose flour instead of bread flour?
Yes, all-purpose flour works, but the bread will be slightly less chewy. If using all-purpose, reduce the water by 2 tablespoons to maintain the right consistency.
Q: How do I know when the bread is done?
The crust should be deep golden brown and the loaf should sound hollow when tapped on the bottom. For accuracy, check the internal temperature: it should be 200-210°F (93-99°C).
Q: Can I skip the overnight refrigeration?
Yes, but you'll sacrifice flavor and texture. Let the dough rise at room temperature for 2-3 hours until doubled, then shape and bake. The crust will be less complex and the crumb denser.
Q: Why didn't my bread rise in the oven?
This is often due to under-proofing or the oven not being hot enough. Make sure your dough has doubled during the rest, and preheat the Dutch oven for at least 30 minutes.
Ready to bake your first artisan loaf? Try this recipe and share your results in the comments below. I'd love to hear how it turned out for you!
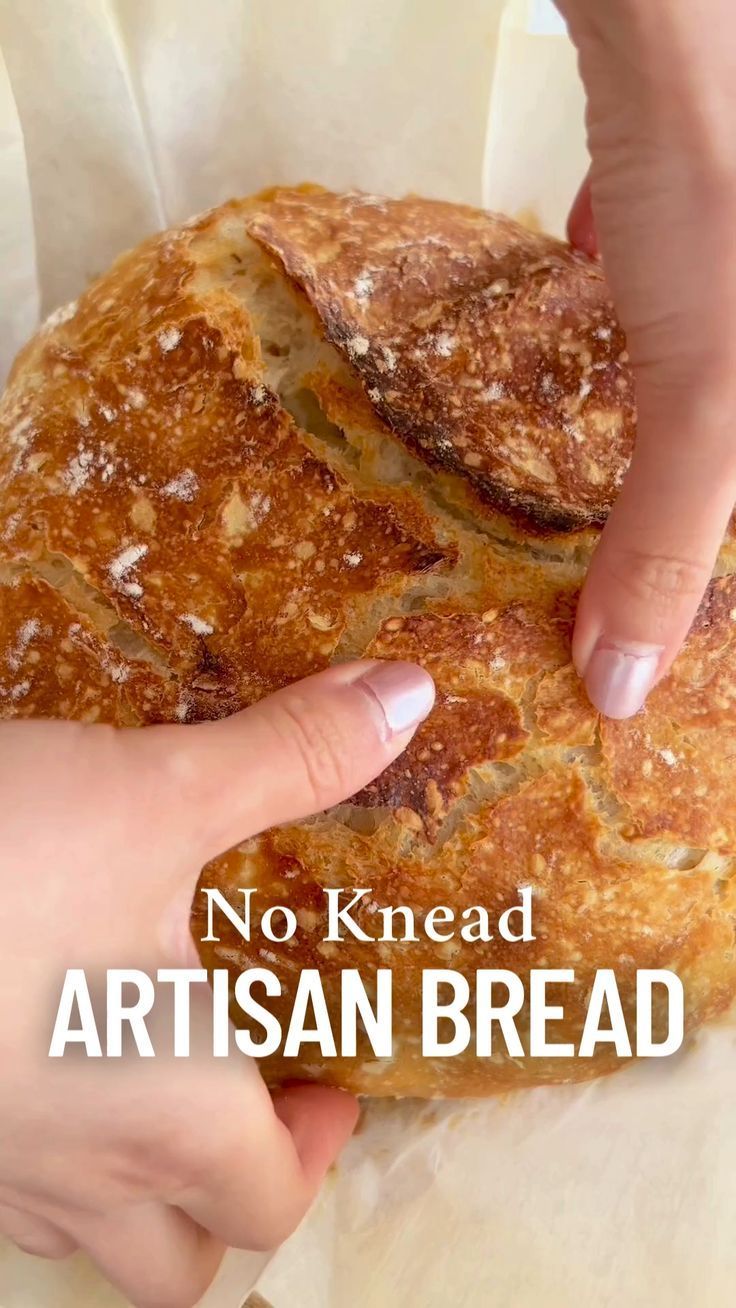
Yeast Artisan Bread
Learn to bake a crusty, chewy yeast artisan bread with just 5 ingredients and minimal effort. Perfect for beginners!
🧂 Ingredients
- 3 cups (360g) bread flour, plus more for dusting
- 1 1/2 teaspoons (6g) instant yeast
- 1 1/2 teaspoons (9g) fine sea salt
- 1 1/2 cups (360ml) lukewarm water (about 100°F/38°C)
- 1 tablespoon (15ml) olive oil, for greasing
📋 Instructions
- 1Mix the Dough — In a large bowl, whisk together flour, yeast, and salt. Add lukewarm water and stir with a wooden spoon until a shaggy dough forms. Cover with plastic wrap and let rest at room temperature for 2 hours – the dough will rise and become bubbly.
- 2Refrigerate Overnight — Place the covered bowl in the refrigerator for at least 12 hours, or up to 24 hours. This slow fermentation develops deep flavor and a tangy note.
- 3Shape the Dough — Turn the cold dough onto a lightly floured surface. Gently fold the edges toward the center to form a round ball, being careful not to deflate it. Let rest on a piece of parchment paper for 30 minutes at room temperature.
- 4Preheat the Oven — Place a Dutch oven (with lid) in your oven and preheat to 450°F (230°C) for at least 30 minutes. The pot must be screaming hot for a good crust.
- 5Score the Dough — Using a sharp knife or bread lame, score the top of the dough with a shallow slash (about 1/4 inch deep). This allows the bread to expand during baking.
- 6Bake Covered — Carefully place the dough (on parchment) into the hot Dutch oven. Cover with the lid and bake for 20 minutes. The trapped steam creates a glossy, crispy crust.
- 7Bake Uncovered — Remove the lid and continue baking for 15-20 minutes, until the crust is deep golden brown and the internal temperature reaches 200-210°F (93-99°C). This ensures a fully baked, crisp loaf.
- 8Cool Completely — Transfer the bread to a wire rack and let cool for at least 1 hour before slicing. This allows the crumb to set, preventing a gummy interior.

Kenji covers tech productivity and digital minimalism for remote workers. He writes about streamlining workflows and cutting digital clutter with a focus on mental clarity, not just efficiency.